The next phase of plan MA comes to fruition.
Some things lead naturally to others, and the combination of portraiture and film photography that’s been my labour since last October has lead me toward the corner of the photographic world that we call medium format.
“What’s medium format?” Query the uninitiated (actually they’re mostly changing the subject or remembering urgent appointments by this point, but anyway). Simply put it’s film photography on bigger film. This gives a bigger negative, and that means you print either a larger picture than would be advisable with 35mm film, or an image that’s the same size with higher quality. Back in the day they’d use these to take the picture for double page magazine spreads, or high grade studio portraits.
Sounds brilliant, I hear you cry. Why didn’t we all use them all the time?
Well bigger film means a bigger camera. Not huge, not massive exactly, not the wood and brass things the Victorians dragged around (that’d be large format). But they’re large enough you consider using a tripod at lower shutter speeds (I’d say anything under a 200th, 125 at a stretch). And, when I dredged this example from the British Museum of Vintage Cameras (otherwise known as my dad’s office) I discovered that the 6×4.5cm format gives fifteen exposures to a roll.
Which brings us to the process of loading the damn thing.
First take the camera. Then remove the film back. Then take your roll of film, unpeel one end of the tape holding the reel closed, load the roll into the film back, and thread the loose end around the film plate and back onto the lower roller. You crank the lower roller until the arrow printed on the roll of film lines up with the red dot on the film back. Then you load the film back onto the camera, wind the thing until it reaches the right point, and then the winding action cocks the shutter and you’re good to go.
At this point, you will look at the thing you’re holding, recall the last few minutes and say, in a tone of the utmost surety:
“So that’s why they invented 35mm”.
Then you take your pictures.
Then, after cranking the winding handle a dozen or so times to make sure all the film has been wound onto that lower roller, remove the back, remove that roller, find the loose end of the tape attached to the film roll, lick the adhesive side of the tape (no, really) and stick it down to prevent the roll from unrolling. Place the resulting roll of film in a light proof tin.
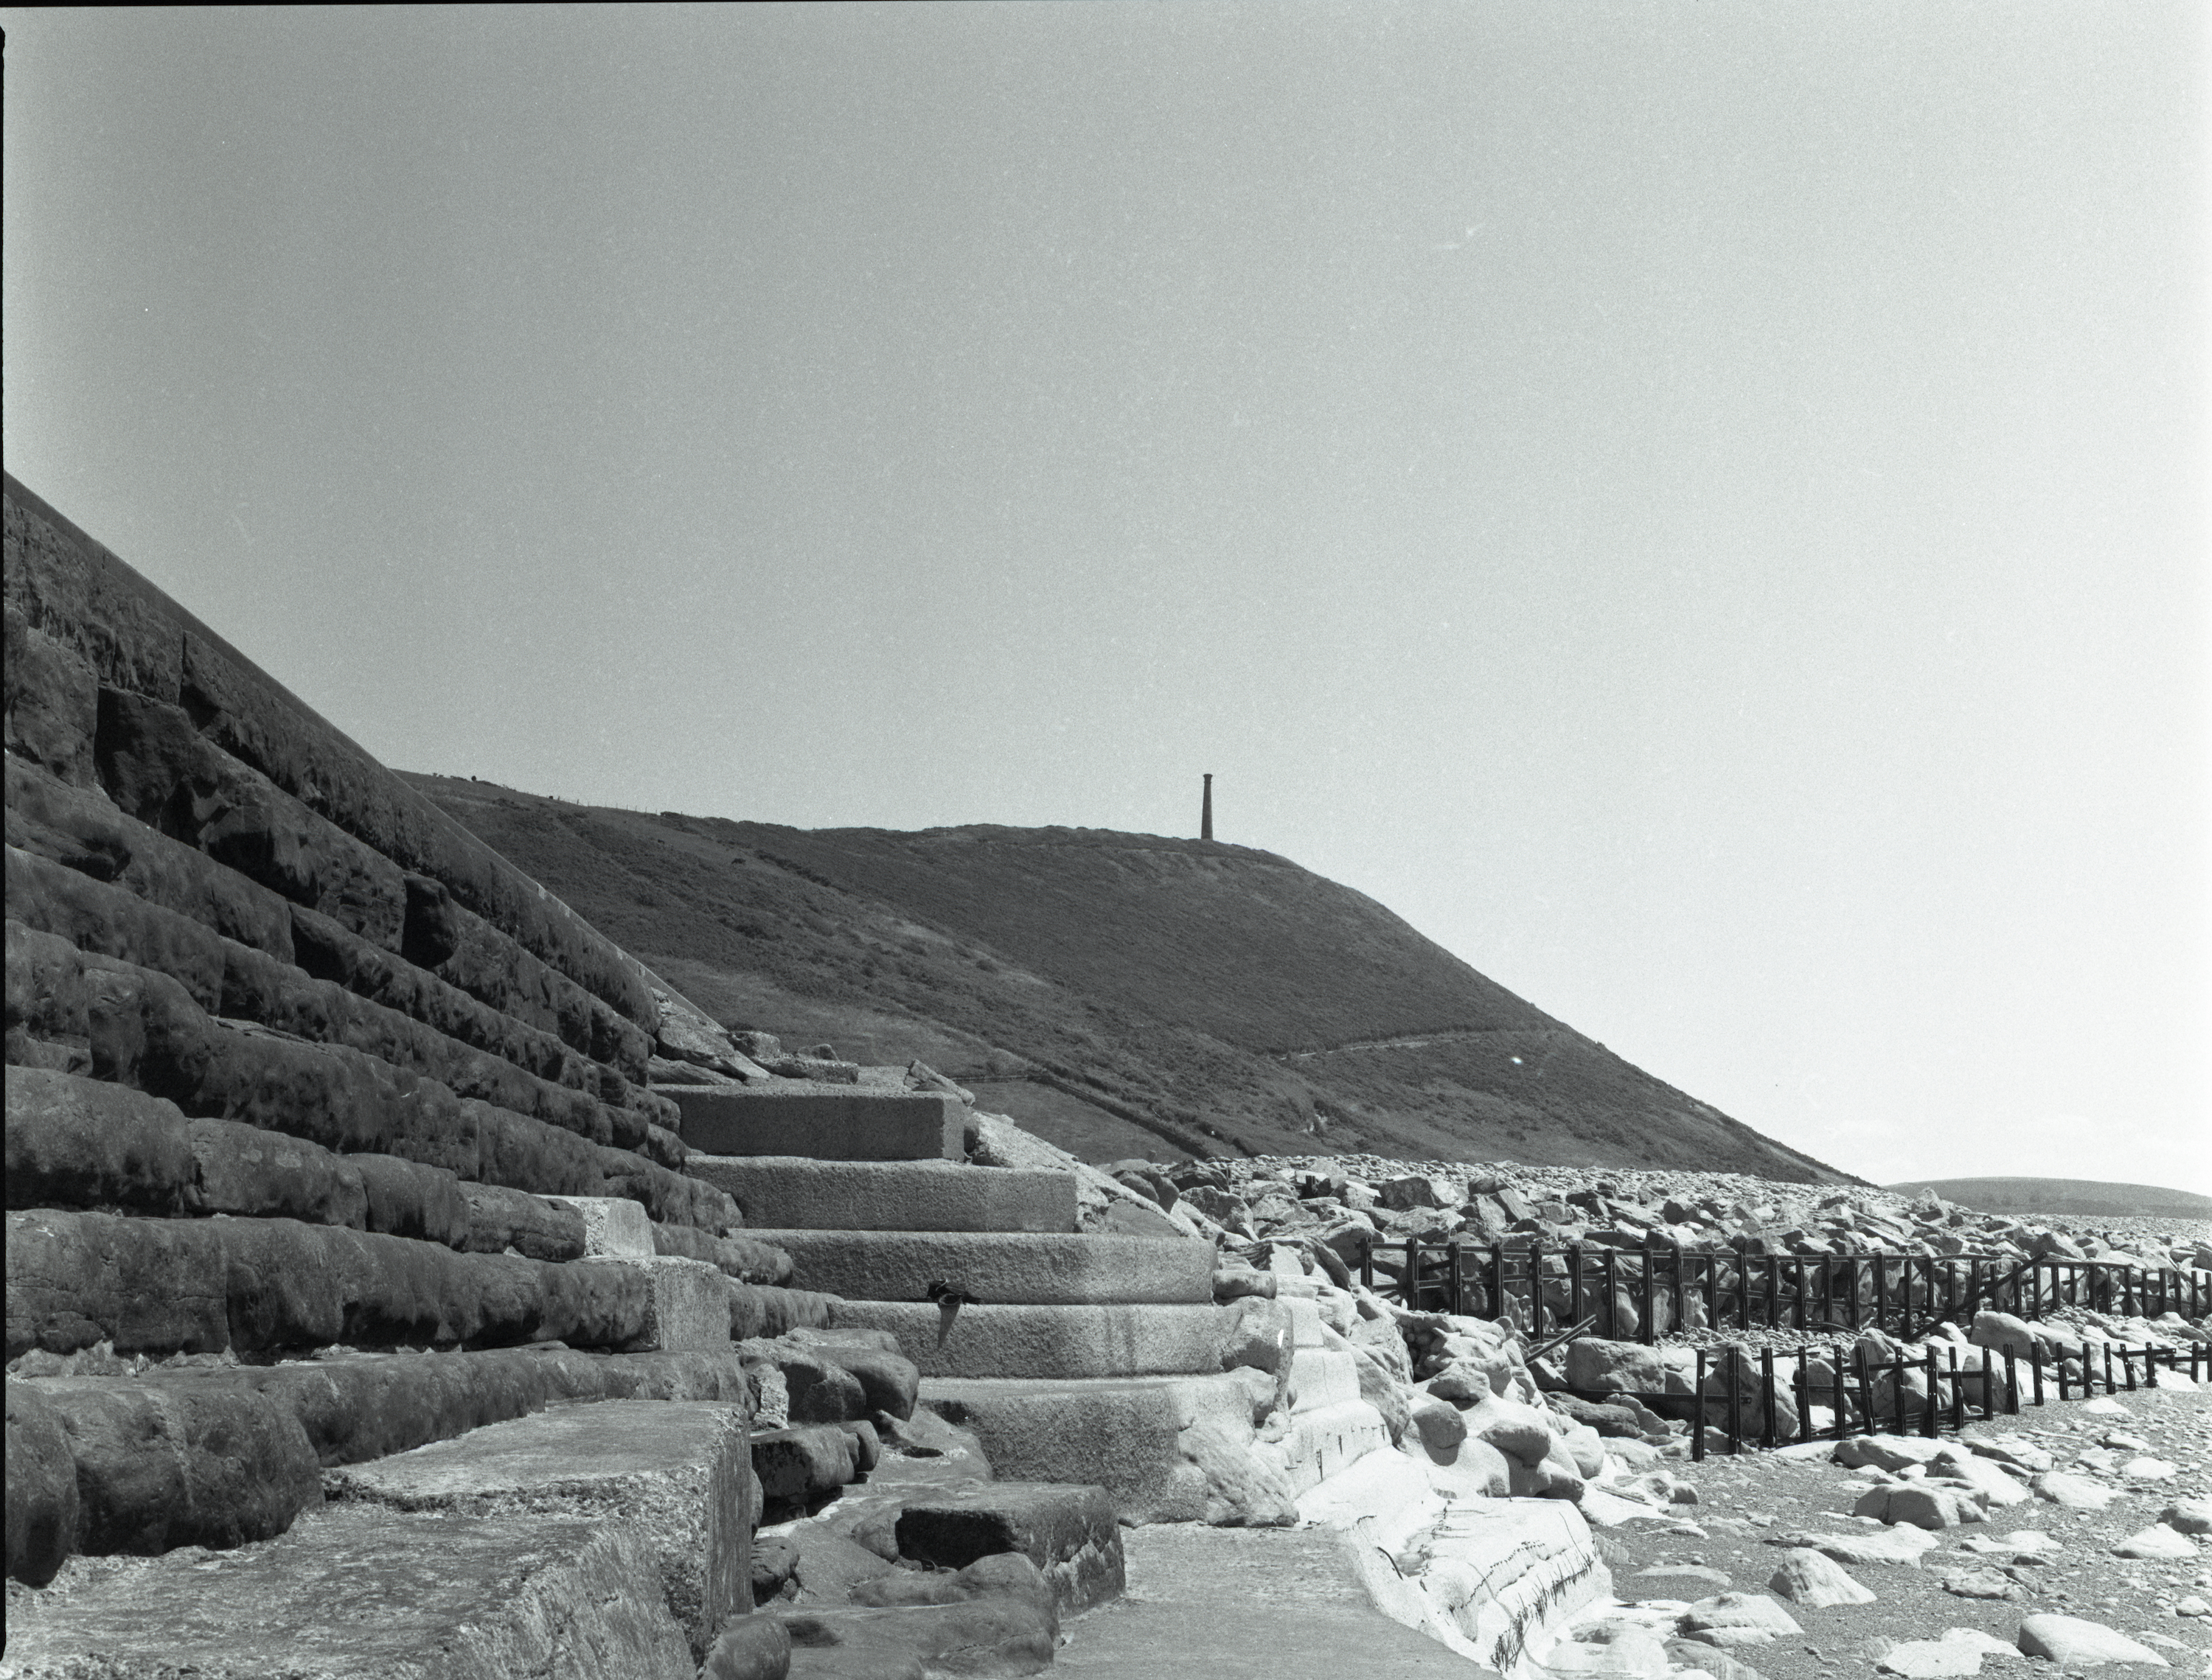
And then, then you develop it. I’d loaded the beast with Ilford HP5 Plus, on the basis that I’ve developed plenty of that over the last six months, and therefore there was less chance of me screwing up that part of the process. The film’s exactly the same as the 35mm stuff, just a little larger, and is developed in an identical chemical process. The real fun part comes at the end of that process when each individual frame is revealed to be the size of a small playing card. That’s where the spectacular image quality comes in. I held the roll of developed film – and being shorter and wider than 35mm it was easier to handle – up to the light and stared at it. After the initial test roll in my parents back garden I’d taken camera and tripod down to the local beach and pointed it at wave-worn rocks, corroding sea defences, lighthouses and all that other stuff. I’d spent some time there last summer, taking the pictures for a long series of long-exposure work on the local coast, and the layout and the vistas were an old story that I was reading through fresh eyes.
I’d print this stuff later on in the process. In the meantime I went downstairs to the mac-suite and scanned a few frames – and a few it was going to be, because the sheer amount of information chemically recorded on each frame resulted in a scanning of frame of twenty minutes and a file size of around five hundred megabytes for each frame.
Next time perhaps, I’ll talk a little about printing the images.
Please note: The technical directions listed are correct for a Bronica ETRS. Your mileage may vary.
